
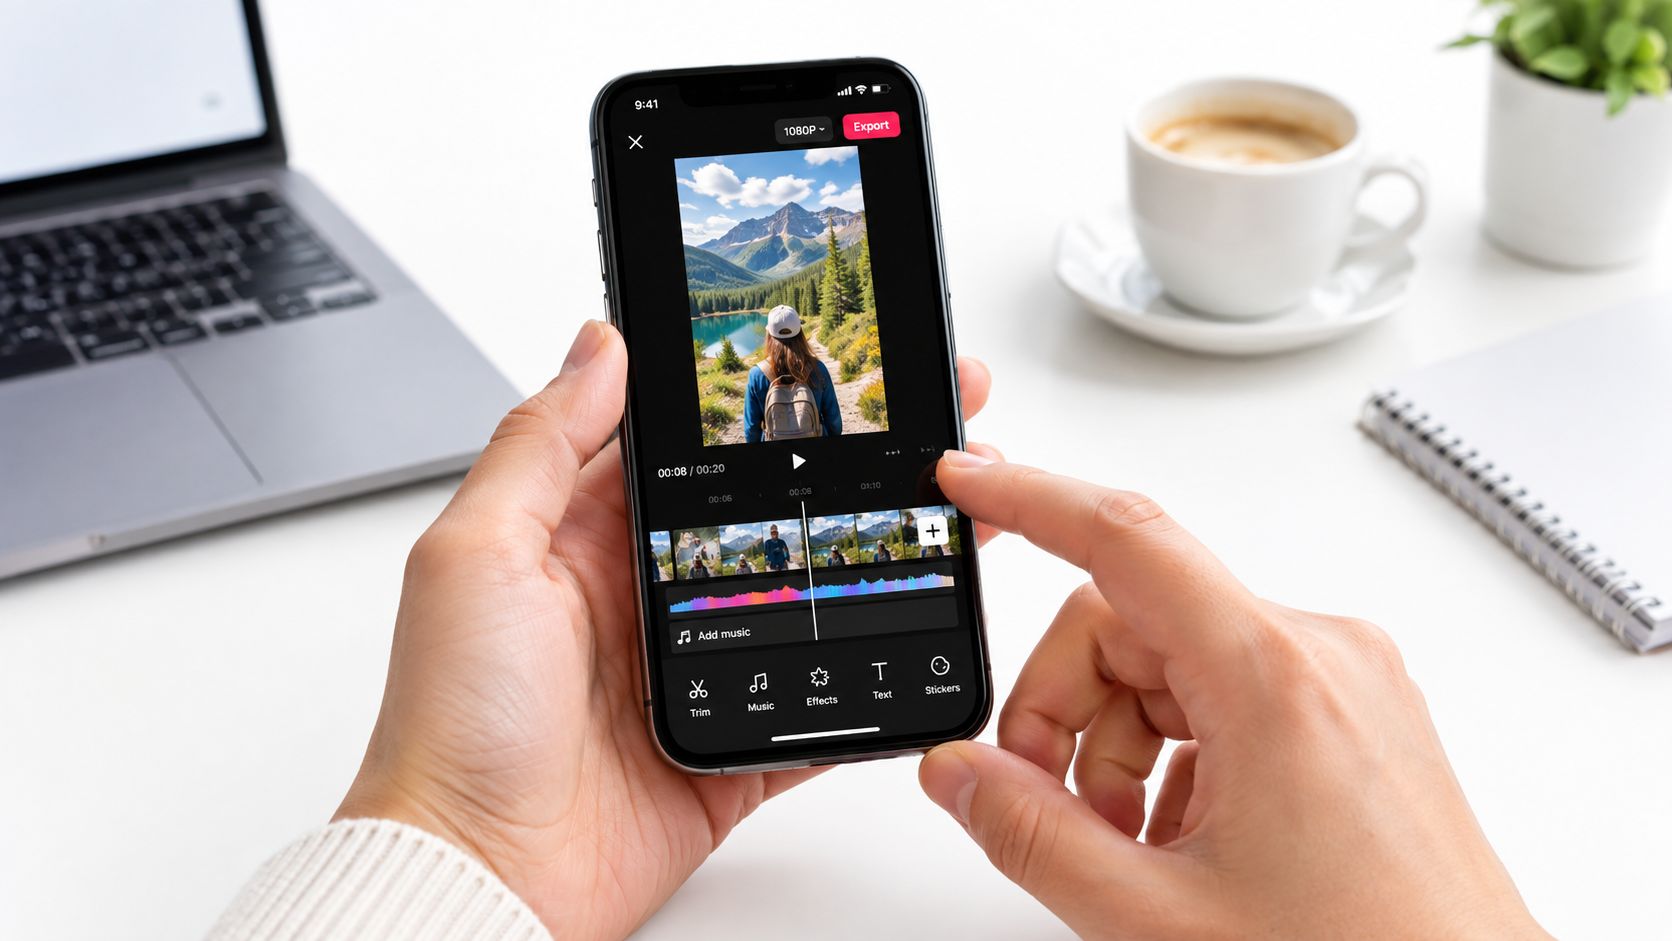
You've probably been there. You need a Reel today, you have a folder full of listing photos, menu shots, treatment-room images, or before-and-after project photos, and you don't have time to film anything new. Most tutorials on how to create a reel in Instagram assume you're recording clips in the app. That's useful, but it misses the bigger workflow problem most local businesses have.
A lot of the Reels I make don't start with video. They start with assets the business already has. Good photos, a few brand lines, maybe a voiceover, and a clear goal. The difference between a Reel that feels thrown together and one that gets watched usually isn't the effect pack. It's the sequence, pacing, and first-second hook.
A lot of the Reels I make don't start with video. They start with assets the business already has. Good photos, a few brand lines, maybe a voiceover, and a clear goal. The difference between a Reel that feels thrown together and one that gets watched usually isn't the effect pack. It's the sequence, pacing, and first-second hook.
Summary
Create an AI Video Tours from PhotosTry it For Free
Why Instagram Reels Deserve Your Attention Right Now
Instagram didn't treat Reels like a side feature. Reels launched globally on August 5, 2020, after an initial rollout to 50 countries, including the United States, India, the United Kingdom, Japan, Australia, France, and Germany, according to this Reels statistics summary. That launch mattered because it marked Instagram's shift from a photo-first app toward short-form vertical video.
Independent 2026 industry reporting summarized in that same source estimates that roughly 2 billion people engage with Reels monthly, which tells you something simple. If you're learning how to create a reel in Instagram today, you're learning the format Instagram built for broad discovery, not just follower updates.
More than half of Instagram ads ran in Reels in 2025, up from 35% in 2024, based on CNBC's reporting on Instagram ad placement shifts. That's the reason to care. Reels aren't just for creators chasing trends. They're part of the commercial layout of Instagram.
If you want a more general walkthrough alongside the photo-first angle in this article, this guide on creating a Reel for Instagram is a good companion.
Independent 2026 industry reporting summarized in that same source estimates that roughly 2 billion people engage with Reels monthly, which tells you something simple. If you're learning how to create a reel in Instagram today, you're learning the format Instagram built for broad discovery, not just follower updates.
Why this matters for busy local businesses
For a realtor, hotel marketer, med spa owner, or restaurant team, Reels solve a real distribution problem. A static photo carousel can still work, but Reels fit how people scroll now. Full-screen. Fast. Sound-on for some users, sound-off for plenty of others. That's why mobile-first storytelling beats overproduced editing in most day-to-day client work.More than half of Instagram ads ran in Reels in 2025, up from 35% in 2024, based on CNBC's reporting on Instagram ad placement shifts. That's the reason to care. Reels aren't just for creators chasing trends. They're part of the commercial layout of Instagram.
Reels reward packaging. A decent set of photos with sharp pacing usually beats a bland video clip that takes too long to say anything.Trend format still matters, though. If you want a practical way to study what's changing without rebuilding your process every week, Donivo's Reels trend adaptation tips are useful for spotting which trend elements are worth borrowing and which ones are just noise.
If you want a more general walkthrough alongside the photo-first angle in this article, this guide on creating a Reel for Instagram is a good companion.
Getting Your Reel Ready Before You Hit Record
Most bad Reels go wrong before the editor opens. The file is the wrong shape, the photos are mixed orientation, the text gets covered by the interface, or the story has no hook. Fix that upfront and the actual build gets much easier.
Industry guides consistently recommend a 9:16 vertical video at 1080 × 1920 pixels for full-screen playback, and most accounts still work within a default maximum Reel length of 90 seconds, while some accounts have access to longer options, according to this Instagram Reels dimensions guide. That same benchmark source reports Reels averaging about 1.23% engagement in one 2026 sample.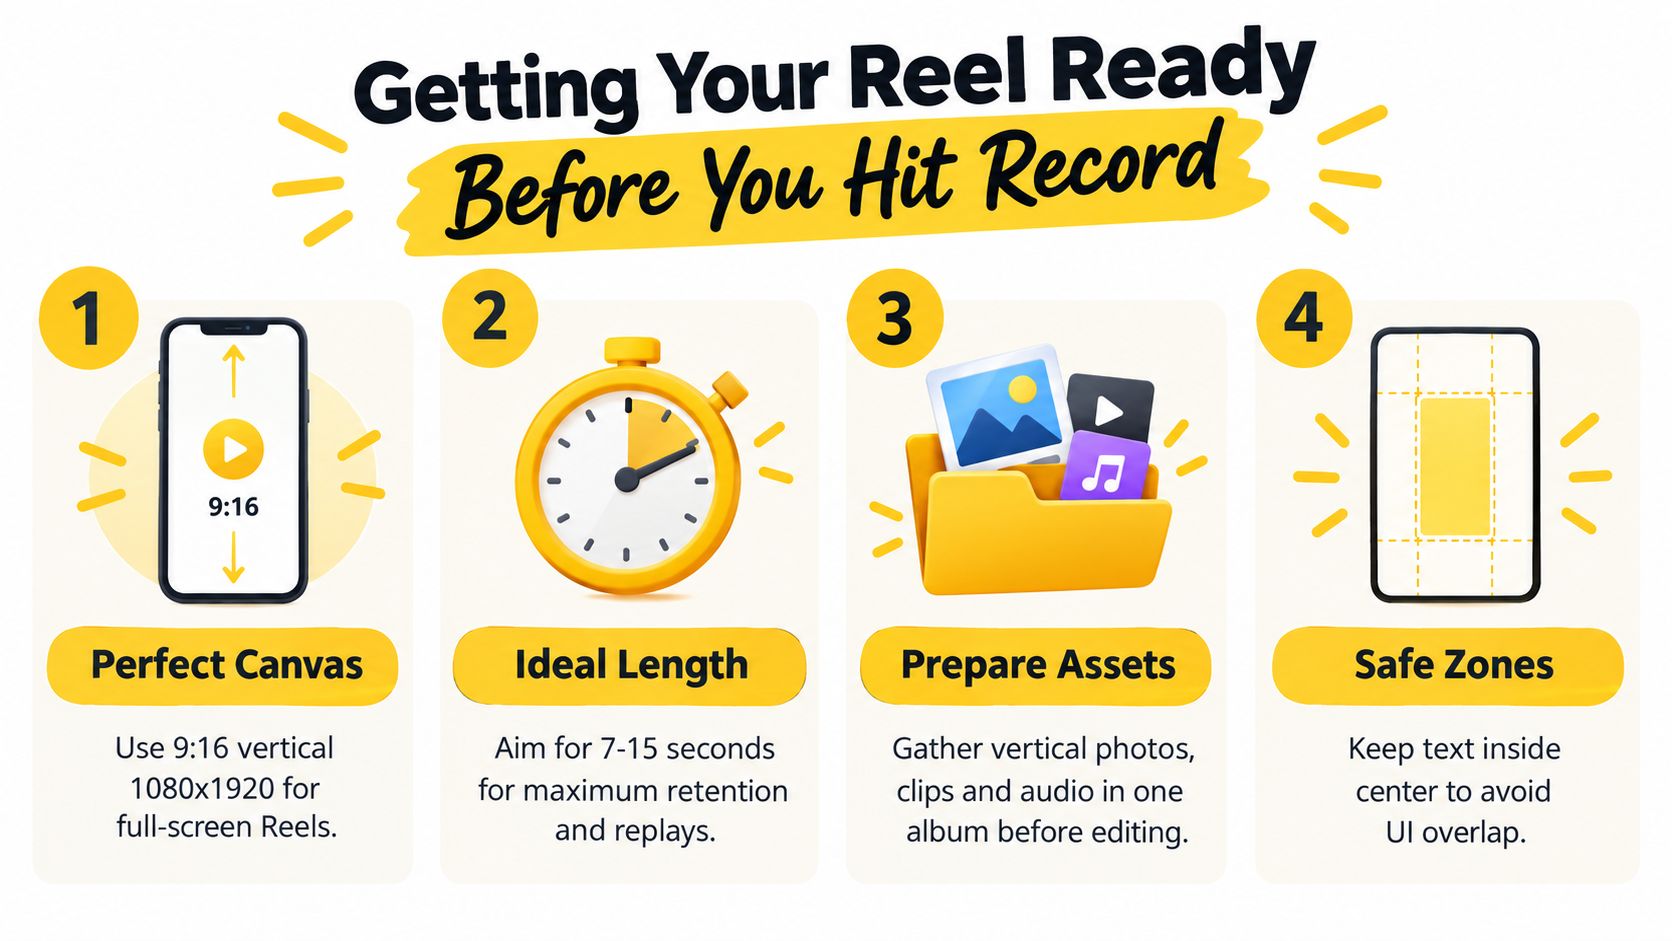
A simple prep checklist:
Industry guides consistently recommend a 9:16 vertical video at 1080 × 1920 pixels for full-screen playback, and most accounts still work within a default maximum Reel length of 90 seconds, while some accounts have access to longer options, according to this Instagram Reels dimensions guide. That same benchmark source reports Reels averaging about 1.23% engagement in one 2026 sample.
Prep the assets, not just the idea
If you're using photos instead of filmed clips, put everything in one album on your phone first. I usually separate keepers from maybes before I ever enter Instagram.A simple prep checklist:
- Choose vertical-friendly images: Portrait shots crop more naturally into Reels than wide photos.
- Pick a lead image first: Your first frame has to stop the scroll. For real estate, that's usually the best exterior, kitchen, lobby, or standout amenity shot.
- Decide the audio role: Music-only, talking voiceover, or text-led silent viewing all create different pacing.
- Plan your cover frame early: If the cover is messy or text-heavy, your profile grid will look weaker than the Reel itself.
Keep the concept tighter than you think
The app might allow longer uploads, but longer isn't automatically better. If the Reel is built from photos, tight editing matters even more because static visuals can feel slow fast.Practical rule: If a photo doesn't add new information, cut it. Similar shots kill momentum.For voice-driven Reels, I like to script one sentence per scene change. For music-led Reels, I match image changes to obvious beats. If you need help generating cleaner vocal layers or music direction for a Reel, the Vocuno Reels vocal tool is one option to explore when you want audio that feels more deliberate than a last-minute track choice.
How to Create a Reel in Instagram Inside the App
Once your assets are ready, the in-app build is straightforward. The trick isn't finding the buttons. It's making the right editing decisions before you overcomplicate the Reel.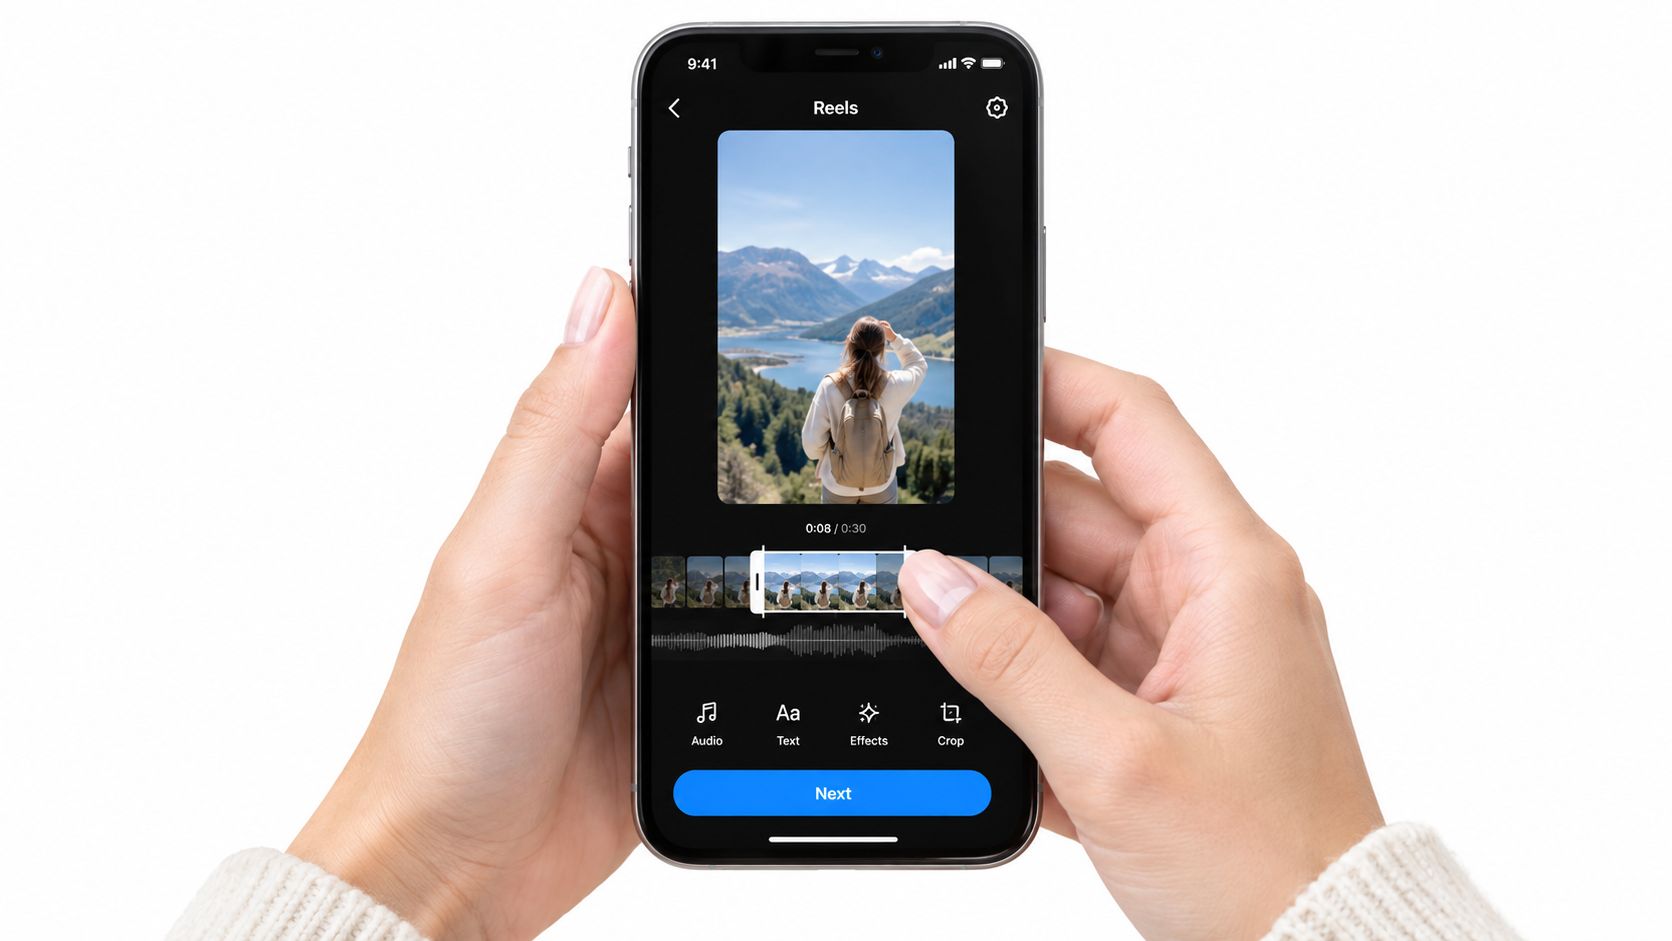
Recording in-app works best when the content depends on timing yourself to a sound, reacting on camera, or stitching quick live clips. Upload works better when you already know what the sequence should be and want cleaner control over selection.
For example, a property walkthrough Reel might combine:
The sequence should feel like a mini story:
Music should support pace, not distract from it. Original audio works well for local businesses when there's a person viewers might want to hear from, like an agent, owner, or stylist. Captions matter because many users watch without sound, and short-form content performs better when the message still lands muted.
If you want to see the interface in motion, this walkthrough gives a useful visual reference:
Use effects when they clarify the content:
A good cover usually has:
Start with upload or capture
Open Instagram, tap the plus icon, and choose Reel. From there, you can record in the app or upload from your camera roll. If you're creating from property photos, product images, or a batch of branded stills, upload is usually the better path.Recording in-app works best when the content depends on timing yourself to a sound, reacting on camera, or stitching quick live clips. Upload works better when you already know what the sequence should be and want cleaner control over selection.
For example, a property walkthrough Reel might combine:
- a quick exterior clip,
- three interior photos,
- one amenities shot,
- a short agent intro,
- and a final CTA card.
Trim hard and reorder for logic
After you add clips or stills, trim anything slow at the front. Users leave too much runway before the point arrives. If the first thing viewers see is a shaky camera adjustment or a generic title card, retention drops.The sequence should feel like a mini story:
- Frame one: strongest visual
- Frame two: context
- Middle: proof, detail, transformation, or key selling points
- Final beat: clear next action or memorable closing image
If your text needs a paragraph, your edit is doing too little work.
Use audio and captions with intent
Instagram lets you add music, original audio, text overlays, effects, and speed changes from the editor. Use those tools selectively.Music should support pace, not distract from it. Original audio works well for local businesses when there's a person viewers might want to hear from, like an agent, owner, or stylist. Captions matter because many users watch without sound, and short-form content performs better when the message still lands muted.
If you want to see the interface in motion, this walkthrough gives a useful visual reference:
Don't waste time on effects that add nothing
Instagram offers filters, green screen options, timers, and speed controls. Some are useful. Most are optional. For business Reels, clean always beats busy.Use effects when they clarify the content:
- speeding up a room setup,
- highlighting before-and-after changes,
- placing a speaker over a visual background,
- or syncing cuts to a beat.
Set the cover like it matters
Before publishing, choose a cover image manually. This is one of the most overlooked parts of how to create a reel in Instagram. The Reel can be solid and still underperform in profile if the cover frame is awkward, blurry, or covered by interface-safe-zone mistakes.A good cover usually has:
- one clear subject,
- little or no tiny text,
- strong contrast,
- and enough breathing room for the grid crop.
Turning Photos Into Polished Reels Without Filming
Most tap-by-tap tutorials stop helping. They show where the upload button is, but not how to make a stack of still images feel native to a video-first format.
Recent Reels guidance also highlights a more flexible workflow. Instagram supports combining pictures and videos in one Reel, along with templates, cover selection, and vertical formatting, as noted in Socialinsider's overview of Instagram Reels workflows. That's useful if your starting point is a photo library instead of fresh footage.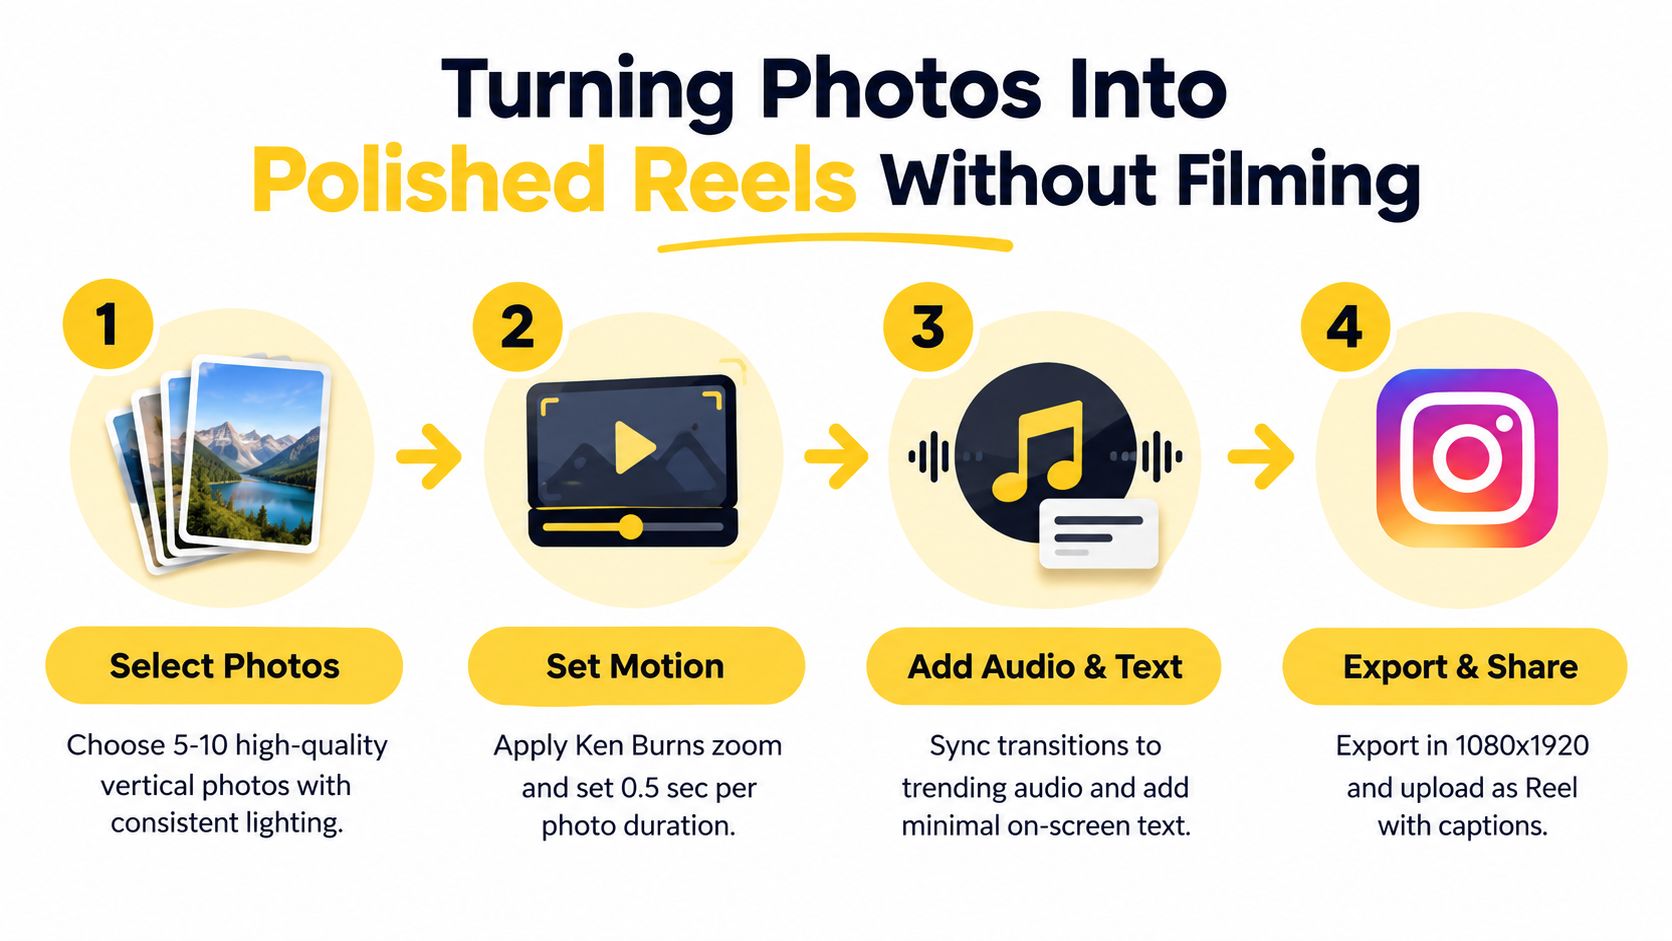
Think in scenes:
I usually aim for visual contrast from frame to frame:
One practical option in this category is VideoTour.ai, which turns photo sets into short social videos with motion, captions, music, branding controls, and vertical exports for Reels. That's useful for agents and local marketing teams who need repeatable output from existing photos rather than manual editing every time.
Recent Reels guidance also highlights a more flexible workflow. Instagram supports combining pictures and videos in one Reel, along with templates, cover selection, and vertical formatting, as noted in Socialinsider's overview of Instagram Reels workflows. That's useful if your starting point is a photo library instead of fresh footage.
Sequence photos like scenes, not inventory
A common mistake in real estate and hospitality is dumping every photo into the Reel. That turns the post into a slideshow no one asked for. The better approach is to curate.Think in scenes:
- entry and first impression,
- best feature,
- supporting details,
- lifestyle payoff,
- close.
Add motion even if the source is static
Still images need movement. That doesn't mean gimmicks. It means subtle pan, zoom, tilt, timing changes, and cut points that give each image direction.I usually aim for visual contrast from frame to frame:
- wide shot to detail shot,
- bright room to texture close-up,
- human moment to architectural shot.
Use tools that shorten the boring parts
If you're doing this often, templates and automation save a lot of repetitive editing. A photo-to-video workflow can help handle motion, timing, and branding more efficiently. If that's your use case, this guide to a video from photos app is relevant, especially for teams converting existing image libraries into vertical social content.One practical option in this category is VideoTour.ai, which turns photo sets into short social videos with motion, captions, music, branding controls, and vertical exports for Reels. That's useful for agents and local marketing teams who need repeatable output from existing photos rather than manual editing every time.
The goal isn't to hide that the Reel came from photos. The goal is to make the pacing feel native enough that viewers keep watching.
Editing and Publishing Tips That Boost Engagement and Reach
Once the Reel is built, performance comes down to retention. The strongest edits make people stay for the next beat. Weak ones explain too much too slowly.
Expert guidance on Instagram performance emphasizes a hook in the first 3 seconds, with ranking signals centered on watch time, likes per reach, and sends per reach. That same guidance reports that Reels with 60%+ 3-second hold rates can outperform weak holds by 5 to 10 times in total reach, according to these Instagram best practices benchmarks.
Then tighten the body:
If you're posting across connected channels, it also helps to follow a cleaner workflow for posting to Facebook and Instagram so distribution doesn't turn into a manual scramble each time.
Expert guidance on Instagram performance emphasizes a hook in the first 3 seconds, with ranking signals centered on watch time, likes per reach, and sends per reach. That same guidance reports that Reels with 60%+ 3-second hold rates can outperform weak holds by 5 to 10 times in total reach, according to these Instagram best practices benchmarks.
What the benchmark ranges actually tell you
Length matters, but not in a simplistic way. One 2026 benchmark set reported that 15 to 30 second Reels average 5.8% engagement, while Reels longer than 90 seconds drop to 3.2%, and the same roundup notes broader benchmark variation, including 1.23% in one large sample and 0.48% in another Q2 2026 sample, as summarized in this Reel statistics benchmark article.| Reel Length | Reported Average Engagement | Takeaway for Creators |
|---|---|---|
| 15 to 30 seconds | 5.8% | Great range for tight storytelling, replays, and simple promotional concepts |
| Longer than 90 seconds | 3.2% | Use only when the content earns the extra time |
| Reels benchmark per post in one large sample | 1.23% | Useful as a broad platform benchmark, but not a creative target |
| Reels benchmark in another large Q2 2026 sample | 0.48% | Measurement methods vary, so compare your own posts consistently |
Editing choices that usually help
The first edit decision is the hook. Don't open with your logo. Don't open with “Hi guys.” Open with the strongest image, boldest claim, or clearest transformation.Then tighten the body:
- Cut repeated angles: If two shots say the same thing, keep the stronger one.
- Use captions deliberately: Short captions improve clarity for sound-off viewing.
- Keep text in safe zones: Avoid placing key copy too high or too low.
- Sync transitions to clear beats: Even light music sync makes static-source Reels feel more intentional.
Publishing habits that improve the next Reel
A Reel doesn't need to be perfect to teach you something. It needs to be clear enough to test. Publish, check retention, and notice where viewers drop.If you're posting across connected channels, it also helps to follow a cleaner workflow for posting to Facebook and Instagram so distribution doesn't turn into a manual scramble each time.
Watch your first seconds like an editor, not a business owner. You already know what the Reel is about. Your viewer doesn't.
Your Next Reel Starts Now
If you've been stuck on how to create a reel in Instagram because you thought you needed fresh footage every time, you don't. You need a format that fits the assets you already have and an edit that gets to the point quickly.
For some posts, that means recording natively in the app. For others, especially in real estate and local business marketing, the smarter move is turning existing photos into a vertical Reel with motion, captions, and a clear story. That approach is often faster, easier to repeat, and more realistic for teams working from folders instead of film shoots.
Start with one simple decision. If your goal is personality, record a short clip. If your goal is showcasing a space, product, or transformation, build the Reel from your best photos and cut hard. Then publish before you overwork it, review the retention, and make the next one sharper.
If you already have photos but not the time to edit them into social-ready video, VideoTour.ai can turn those image sets into branded vertical reels with motion, captions, music, and share-ready exports. It's especially useful for real estate, hospitality, and local teams that need to publish consistently without filming every post from scratch.
For some posts, that means recording natively in the app. For others, especially in real estate and local business marketing, the smarter move is turning existing photos into a vertical Reel with motion, captions, and a clear story. That approach is often faster, easier to repeat, and more realistic for teams working from folders instead of film shoots.
Start with one simple decision. If your goal is personality, record a short clip. If your goal is showcasing a space, product, or transformation, build the Reel from your best photos and cut hard. Then publish before you overwork it, review the retention, and make the next one sharper.
If you already have photos but not the time to edit them into social-ready video, VideoTour.ai can turn those image sets into branded vertical reels with motion, captions, music, and share-ready exports. It's especially useful for real estate, hospitality, and local teams that need to publish consistently without filming every post from scratch.